DIY Wall-Mounted Acrylic Floating Frame + Digital Abstract Art
My blog contains affiliate links- which means that if you click on a link and end up purchasing something, I’ll earn a small commission. You’ll never pay a penny more, and I can continue creating free content like this, so it’s a win-win!
share /
Do you ever get bored with hanging and displaying your art in the same boring picture frame you have all around your house? Sure, there are different styles and colors, but it can get a little repetitive when you hang art and photos all the same way. And let’s be honest, those frames and mats for frames (if you need one of those) can get expensive. Especially if you have a lot of art.
Well, I’m going to show you how to make this modern, wall-mounted floating acrylic frame! Do you ever feel like the majority of DIY projects just scream DIY? Well, that’s why this one is one of my favorites. I promise that it will look nothing like a DIY project when you’re finished. I’m also going to show you where you can download this free printable abstract art!


I’ve seen these acrylic frames online and have fallen in love with how sleek they look. The barely-there frame makes it seem as if it were floating on the wall. And finished with some beautiful hardware? I mean, come on. Need I say more?
But, beyond just the looks of this frame, I love this DIY for multiple reasons. It’s unique, simple, and inexpensive and it can be customized in many ways, depending on what you’re hanging!
Hanging art isn’t the only thing you can do with it. After I show you how you can make this frame yourself, I will share a couple of secrets about other ways to use this in your home.
Ready? Let’s get started!
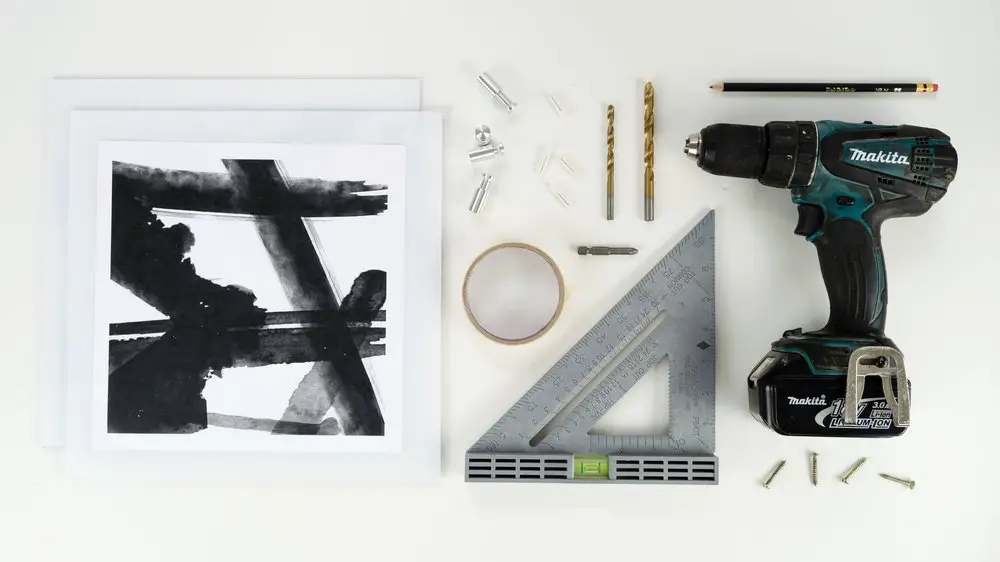
Materials You’ll Need:
(click to shop)
2 pieces of acrylic that are the same size
Artwork / Photos (link is below to the free artwork I made!)
There are a couple of things I want to mention…
When picking out acrylic for the project, you’ll want to buy a piece that doesn’t flex or bend. A thicker piece of acrylic will help sandwich your artwork better and will look more expensive. Which is always a good thing when doing a DIY, right? I used acrylic that is 3/8” thick.
The standoffs are really nothing more than a fancy nut and a bolt. You might recognize these from your mirror in the bathroom or around the mall. They are often used in commercial settings to hang large signs. They can come in a variety of colors, shapes, and sizes depending on what you’re hanging. For this project, I used one of the smallest standoffs available, which are 1/2” in diameter and 1″ in length. The length means how far they “stand-off” from the wall.
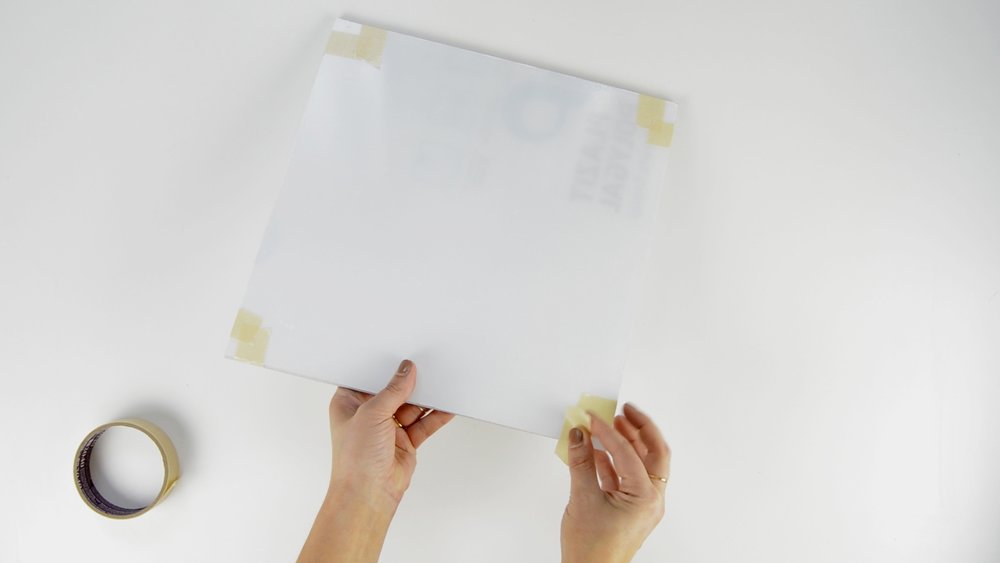
Step 1 | Tape acrylic together
Place your two pieces of acrylic on top of one another and tape the pieces together on all four sides.
Since we need the holes in the exact places on both pieces of our acrylic, I’m going to drill both pieces at the same time. I found that when I drilled the pieces separately, my drill marks were a little off from one another and didn’t line up perfectly for my standoffs. You could also use a drill press for more accuracy.
Savvy Tip! You’ll want to keep the protective layer on the acrylic on during most of this project. Acrylic can scratch easily and is notorious for catching even the slightest fingerprints.
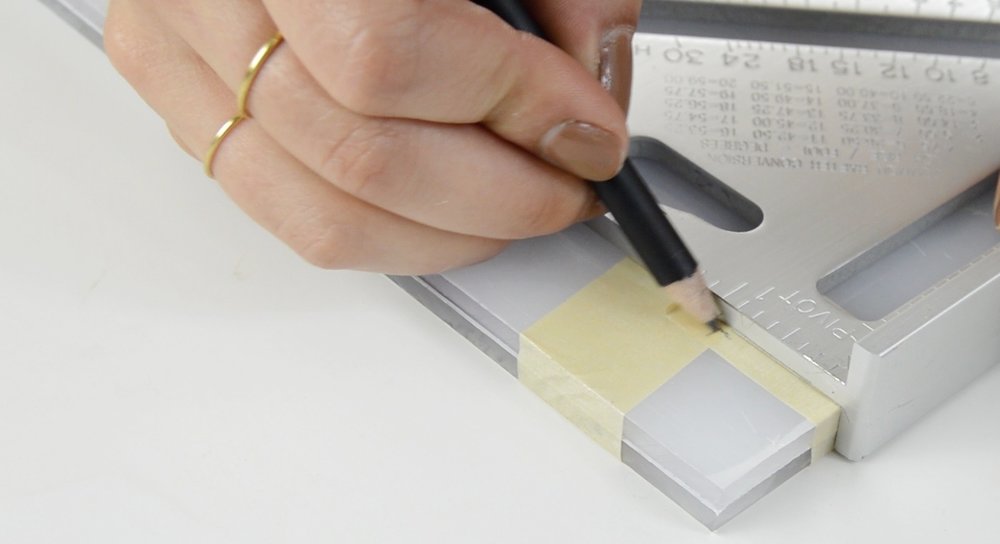
Step 2 | Measure & mark your drill marks
Next, you need to measure where the standoffs will be located. Depending on the size of your piece, you’ll want them placed not too far in and not too close to the edge, either. I placed my standoffs in one inch from the edge of the acrylic. Once you have figured out where you want them, make measuring marks on both sides until you create a cross-hair. The cross-hair will be there you will drill.
Savvy Tip! Make sure your acrylic is at least 1-2 inches bigger than your piece of art.
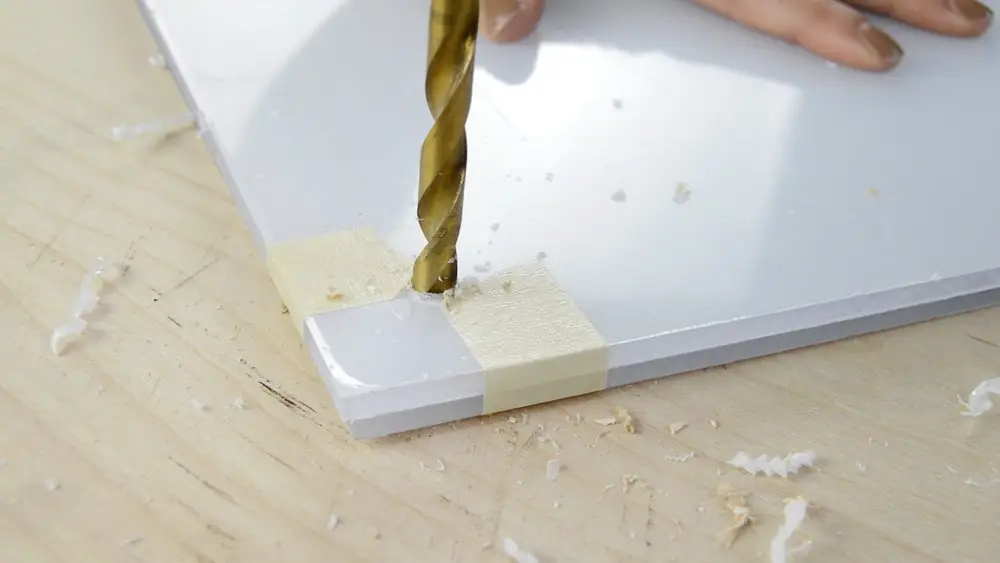
Step 3 | Drill the holes
I’m using a couple of different-sized drill bits to create the holes. As you’ll notice, the diameter of the stand-off screw is quite large, so you’ll need a big enough drill bit to accommodate it.
Align your drill bit up with the crosshairs and begin drilling. Start slow and gain intensity until you are completely through the acrylic. Once you are completely through the acrylic, switch the drill to reverse and pull it out. Reversing the drill will allow you to create a smooth edge. Repeat on all four corners and then repeat the process with the larger drill bit. The standoff should be able to fit through once you’re finished.
Savvy Tip: Make sure you protect your table-top with a piece of scrap wood
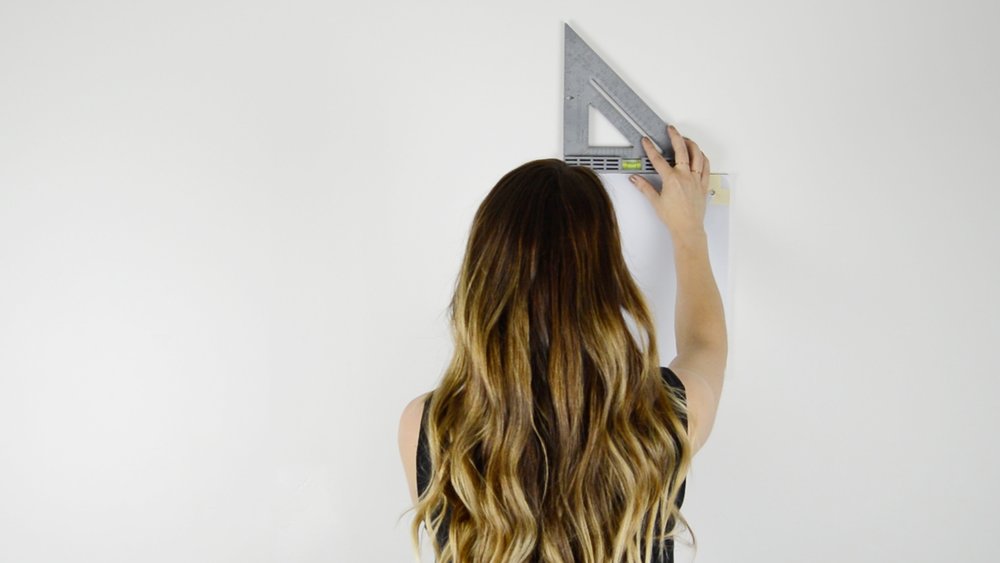
Step 4 | Mark your anchor points on the wall
Hold the frame up to your wall where you want it and level it out. Mark the centers of the holes in the acrylic. These will be the marks for where the back of the standoffs will be screwed in.
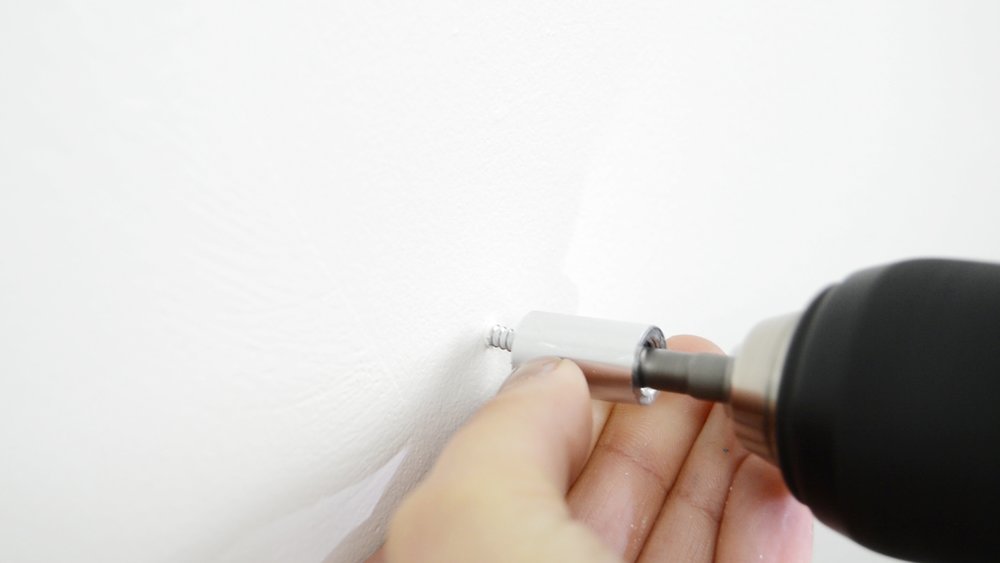
Step 5 | Screw in the standoffs
Match up the backs of the standoffs to the marks on the wall and screw them in with a screwdriver or drill. If you are hanging a large piece of artwork, you may want to install drywall anchors to help support the weight of the frame. Also, note that the screw you use will have to have a small enough head to fit through the standoff.
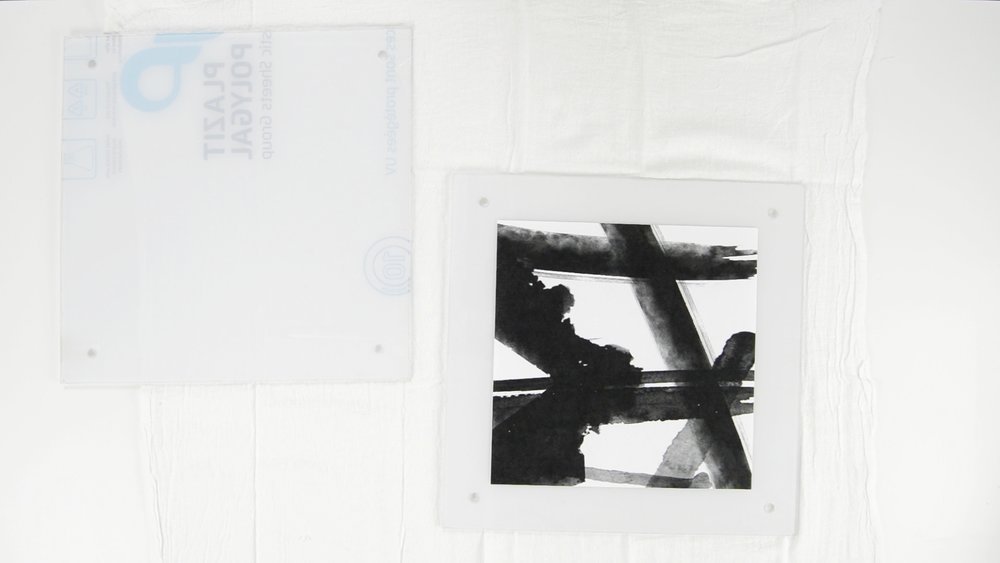
Step 6 | Place art in the frame
Take off the protective coating on the inside, where the two pieces are together. Place your art inside and line up where you want your artwork. Use a glue dot or tiny piece of double-sided tape to ensure your art piece doesn’t move. Top with the other piece of acrylic & match up the holes correctly.
Savvy Tip: Wear dust free/lint-free gloves to prevent any smudges and fingerprints. They are a very inexpensive investment and if you have a lot of framing to do, you will thank yourself.
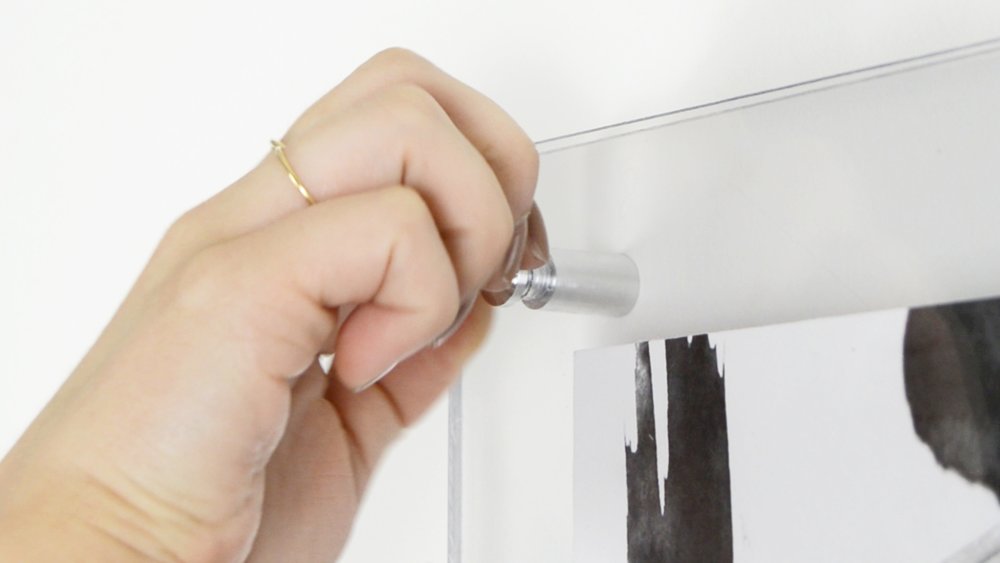
Step 7 | Screw the standoffs in
Place the screw of the standoff through the acrylic. You might notice your standoffs have two plastic washers. Place these on both sides of the acrylic. They will prevent the acrylic from scratching. Line up all the holes in the standoff backs and screw the front of the standoffs in. Then remove the rest of the protective coating and it’s finished!
Other ways to use these acrylic frames:
Beyond just hanging pictures or photographs, the standoffs and acrylic offer a sleek alternative to many things.
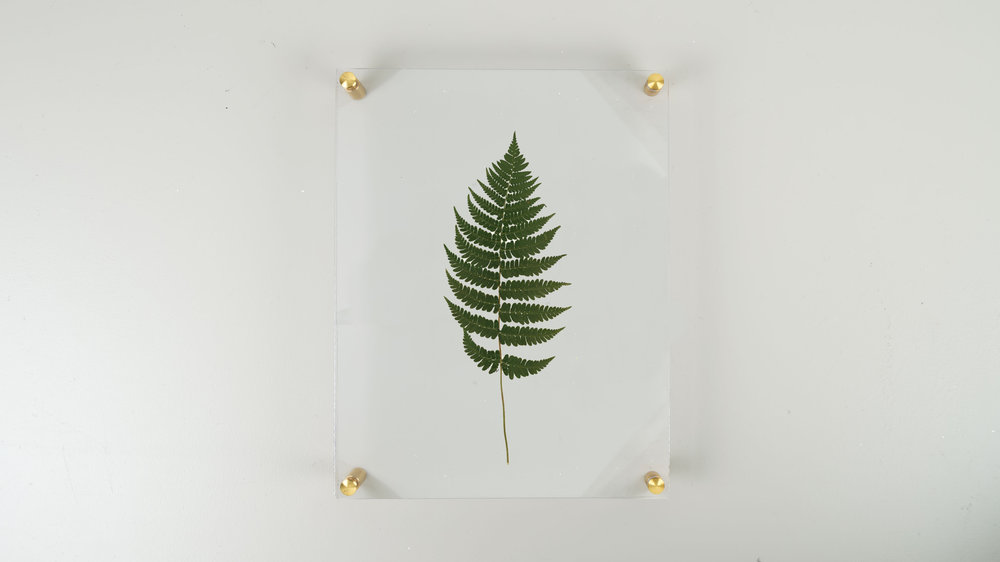
- The acrylic provides the ultimate invisible backdrop for beautiful dried botanicals and leaves.
- There are so many colors of acrylic available and there is also acrylic that has texture. Switch it up and use a different color of acrylic for the back piece of the frame. This will act as a “mat” and give your art piece a backdrop.
- Get one piece of mirrored acrylic and make a wall mirror.
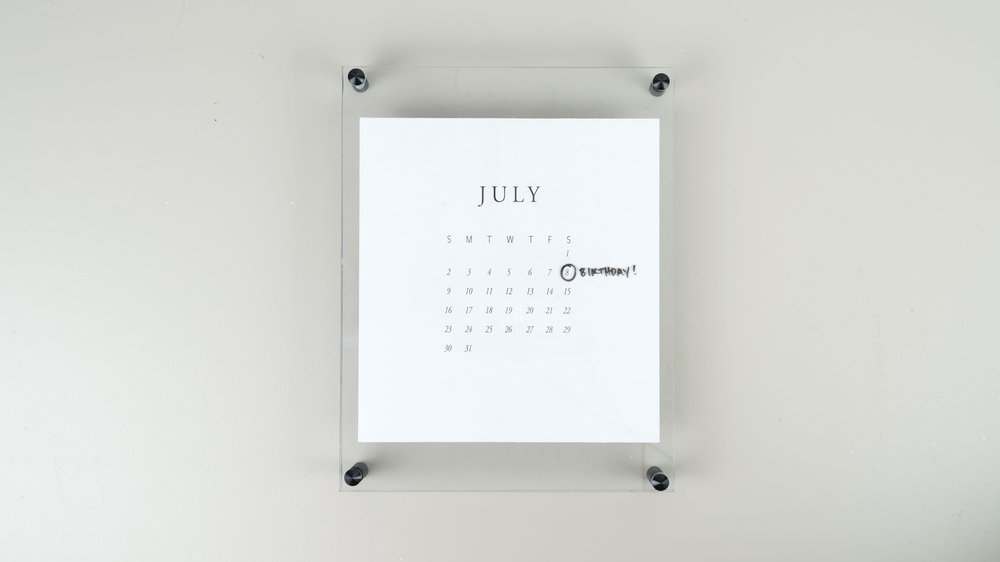
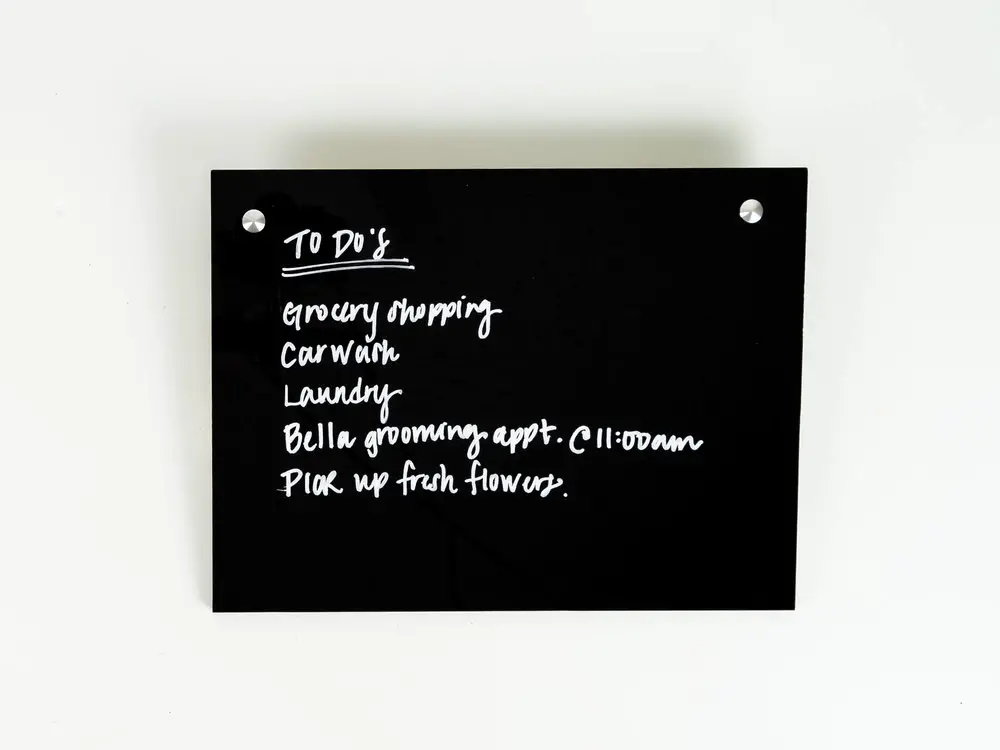
- Use acrylic as a whiteboard. Instead of that typical whiteboard, hang one piece of acrylic with standoffs. It’s the small details that can turn a boring room into an interesting one.
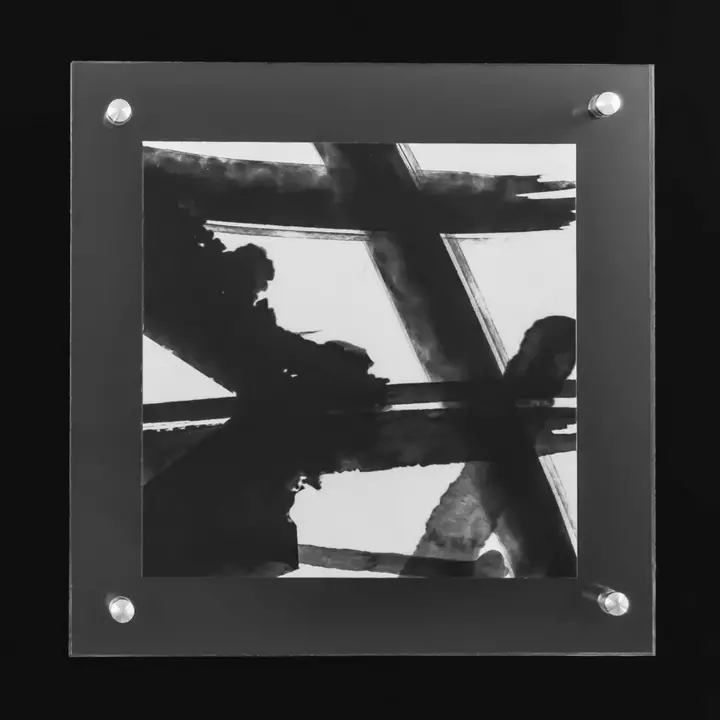
Whether you are looking to make a minimalist statement or just need to switch it up from the normal picture frame, this DIY acrylic floating frame is the perfect addition to your home. It’s so easy to customize with all the different colors and shapes of the standoffs and you can get as wild as you want with the size and style of acrylic. I’m so obsessed with how this turned out and I hope you enjoyed this DIY project! Let me know your thoughts by leaving a comment and if you end up making this DIY, please share your photos with us using the #thesavvyheart on social media!

I love what you did with the frames and the very detailed instructions. May i ask what are the thickness of your acrylic pieces.
Thanks Sabena!
I used acrylic pieces that are 1/4" thick, however you can buy all different thicknesses. It all depends on the frame you’re using and what depth it can accomodate. Hope that helps!