A couple of weeks ago, our intern, Emily, wrote a blog post about a couple different ways to display your art in a frame. Floating, matting and mounting to be exact. If you haven’t taken a peek at that, hop over and read that post because it will give you more of an idea of what I’m talking about for this ‘how to’ project. But let’s cover the basics quickly…
What is float mounting?
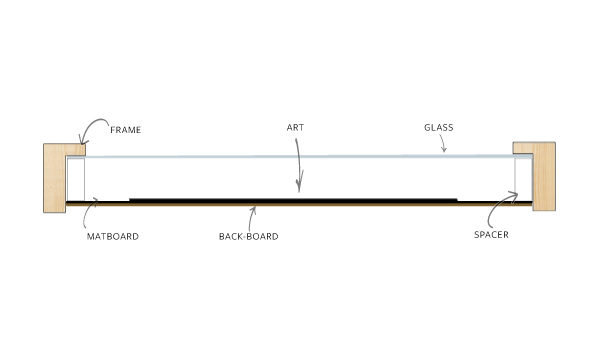
Float mounting is where all the edges of the art print or picture are exposed and then art is separated from the glass with a plastic spacer.
Float mounting because it gives your art that true gallery feel and can easily make any piece of art look more expensive.
What is distance float mounting?
Distance float mounting looks very similar to normal float mounting, except the artwork is mounted to a piece of foam core, making it appear as if the art is floating in the picture frame.
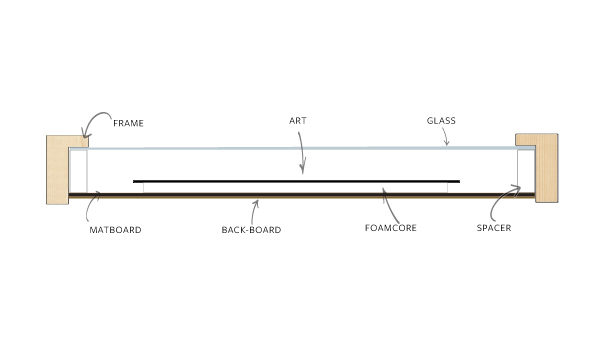
The floating style of framing is popular among museums and galleries because it allows the art to breathe and not be pressed directly up against the glass.
Letting your art touch the glass is a no-no with original drawings and finer pieces of art because there is a risk of it getting it stuck to the glass, which can cause the ink or pencil to transfer and potentially ruin it.
There are a few particular types of art that should be float mounted, and these include:
- Original drawings
- Art on an interesting/ textured paper
- Signed Art
- Textiles
- Art with unique or uneven borders
Of course, there is no right or wrong way to display framed art, it’s really just a personal preference. Although, I feel like float mounting looks a little fresher than the typical matted frame.
Now that you know what float mounting is, I thought I would show you how to float mount art yourself. Specifically, how to distance float mount.
If you have ever tried to cut a mat yourself, you know it’s pretty difficult and there is zero room for error. Unlike cutting picture mats, all the cuts for this project won’t be visible. So if you mess up a little, it really doesn’t even matter!
Let’s get started so I can show you how to float mount art in a picture frame!
How to float mount art in a picture frame:
- Cut the mat-board to the size as the backboard of the frame.
- Cut a piece of foam-core about 1/4″ smaller than your art
- Tape the art to the foam-core
- Tape the foam-core and art to the mat-board
- Measure, cut and insert the acrylic spacers
- Assemble your frame together
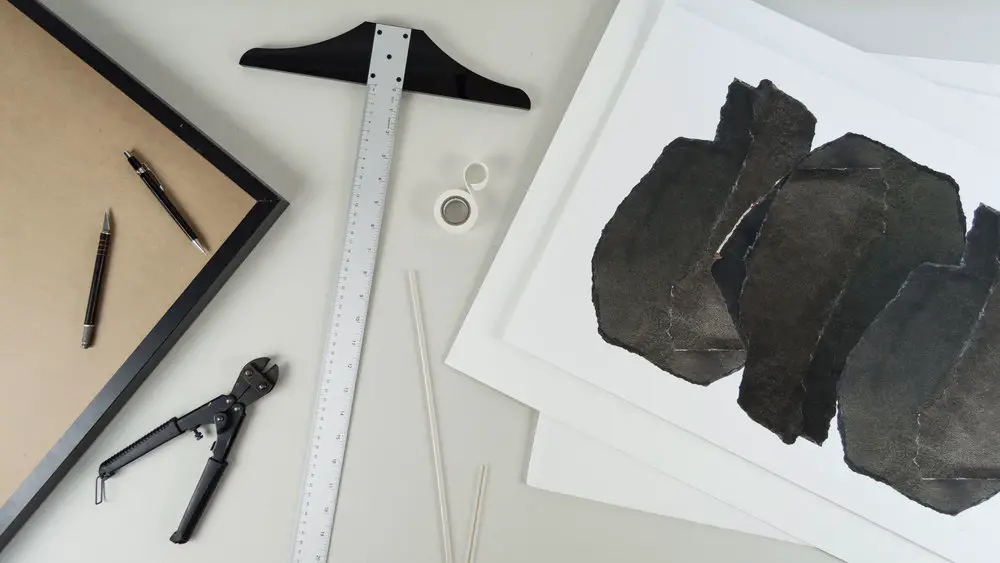
Materials:
Artists tape or gummed linen tape (acid-free)
Acrylic framing spacers with adhesive backing
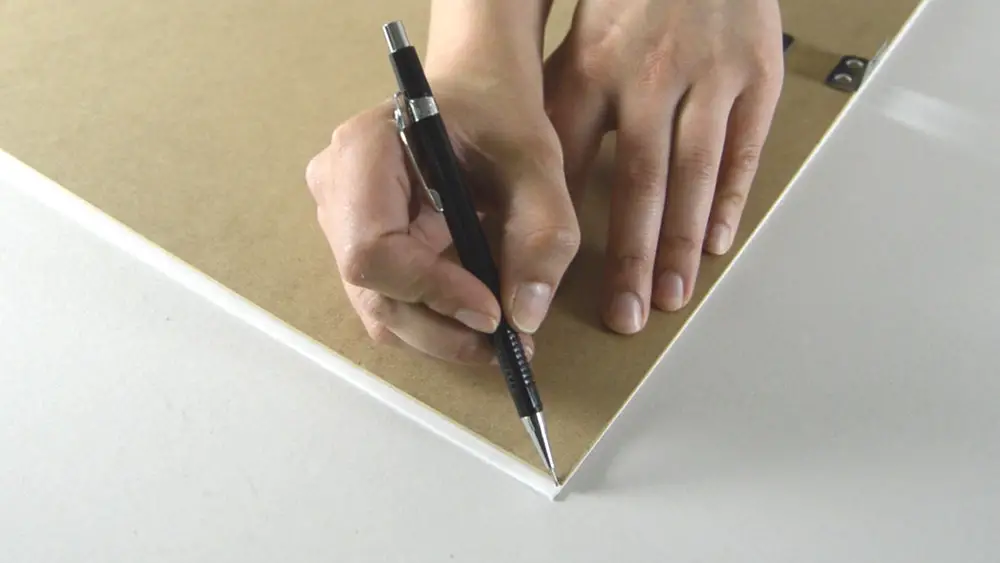
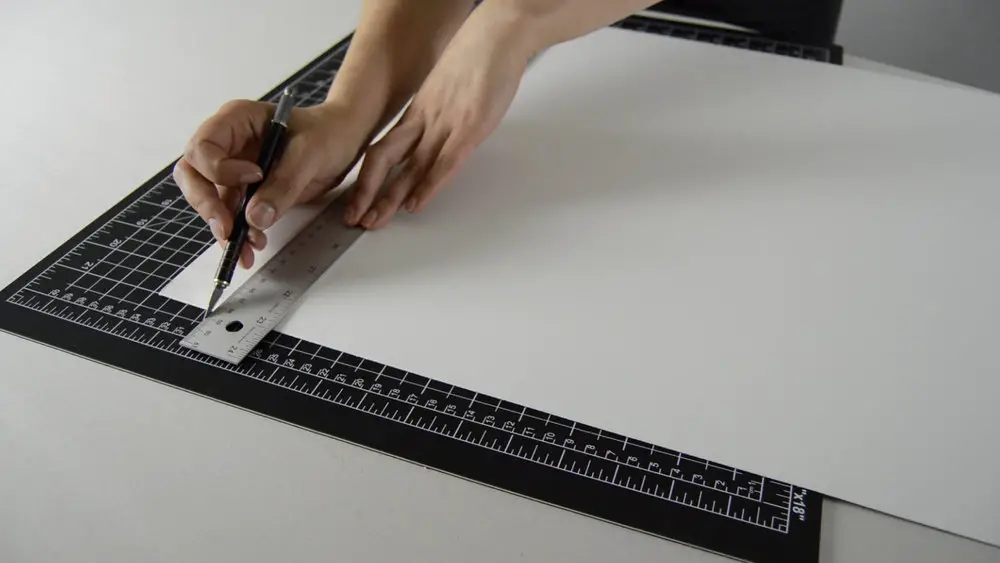
Step 1. Cut the mat-board to the size as the backboard of the frame.
Use the backboard of the frame as a template and carefully mark and cut the matboard to that exact size. It’s important to choose a matboard that works well with the art you’re framing. A beautiful white or cream color is usually my go-to. If the art is drawn or printed on a smooth paper, try to find a mat-board with an ever-so-slight texture to keep it interesting. It’s all about those details!
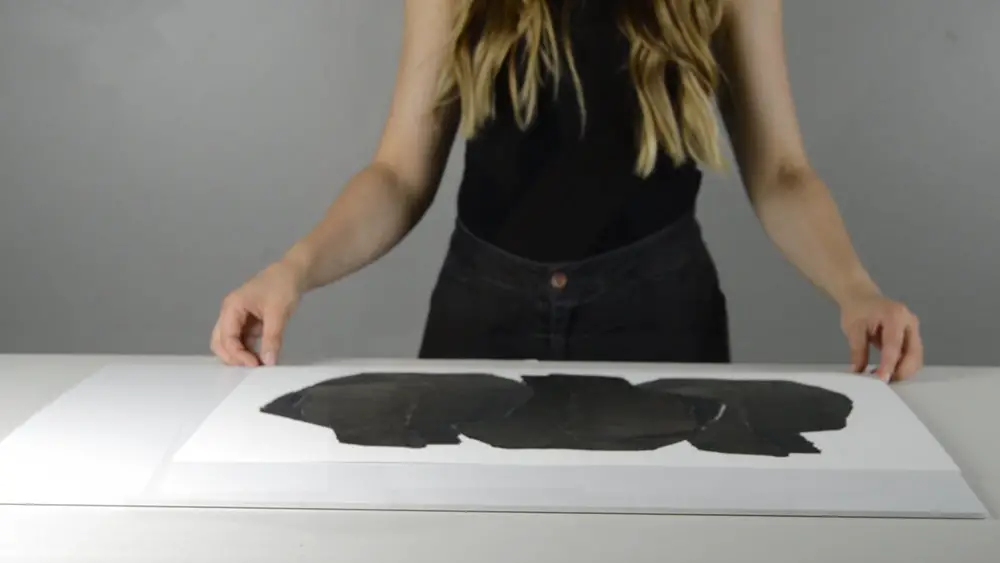
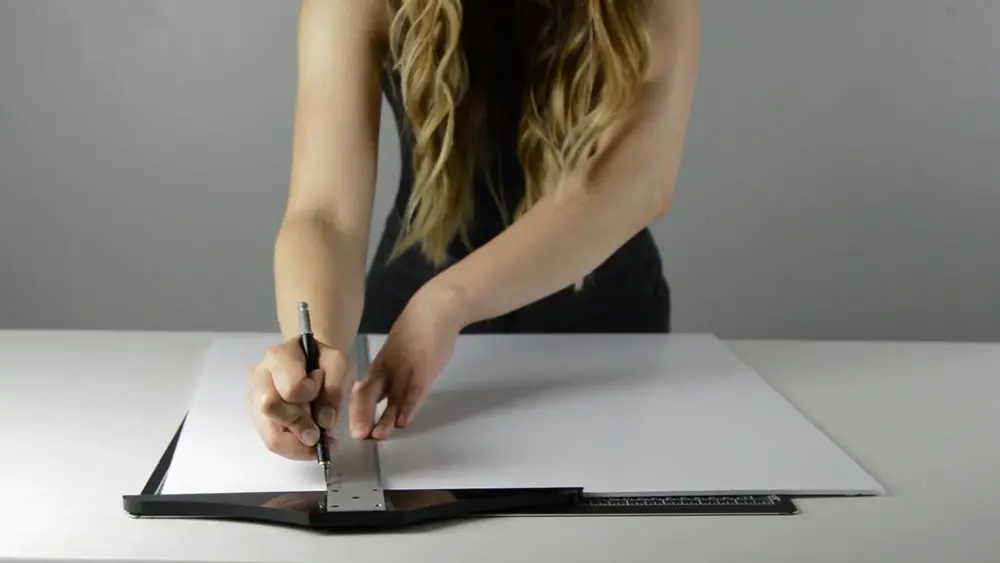
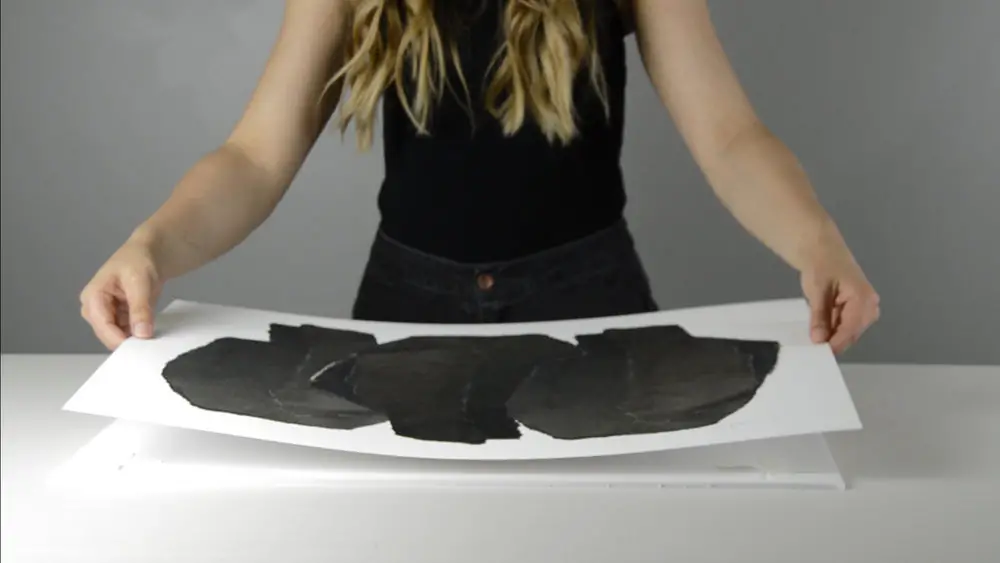
Step 2. Cut a piece of foam-core about 1/4″ smaller than your art
I usually just eyeball this one and use the art as a reference. Foam core is a bit thicker than matboard so it might take a few slices to cut completely through it. The color of the foam core doesn’t matter, although white is usually best since you won’t see it through the art.
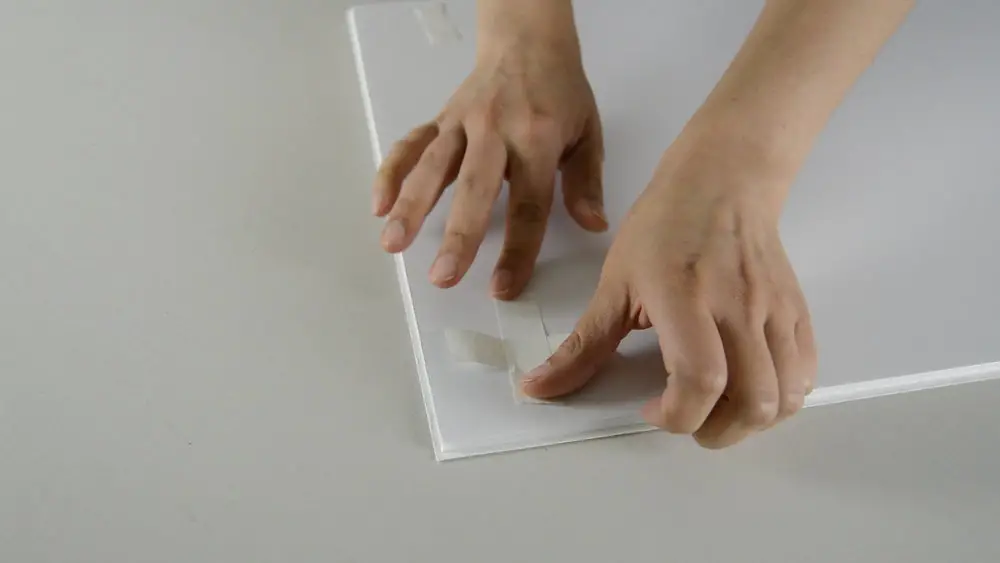
Step 3. Tape the art to the foam-core
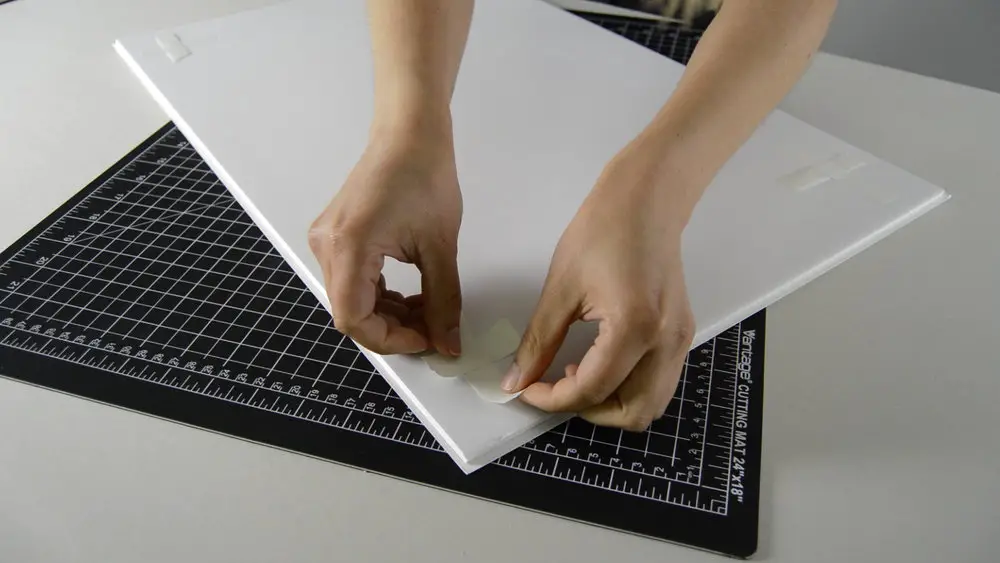
In a cross shape, tape two pieces of tape together and then apply to all four corners of your art. I suggest using gummed linen tape or artists tape, which is a specialty mounting tape found at art supplies and framing stores. It sticks to the art perfectly and won’t ruin it if you plan on removing it later!
Step 4. Tape the foam-core and art to the mat-board
Using the same cross method, tape the foamcore onto the matboard. You can either measure it or eyeball it to get it centered. Press firmly with an extra piece of foamcore or matboard to make sure it adheres. Avoid using your hands to press down on the art because dirt and oil can easily transfer.
Step 5. Measure, cut and insert the acrylic spacers
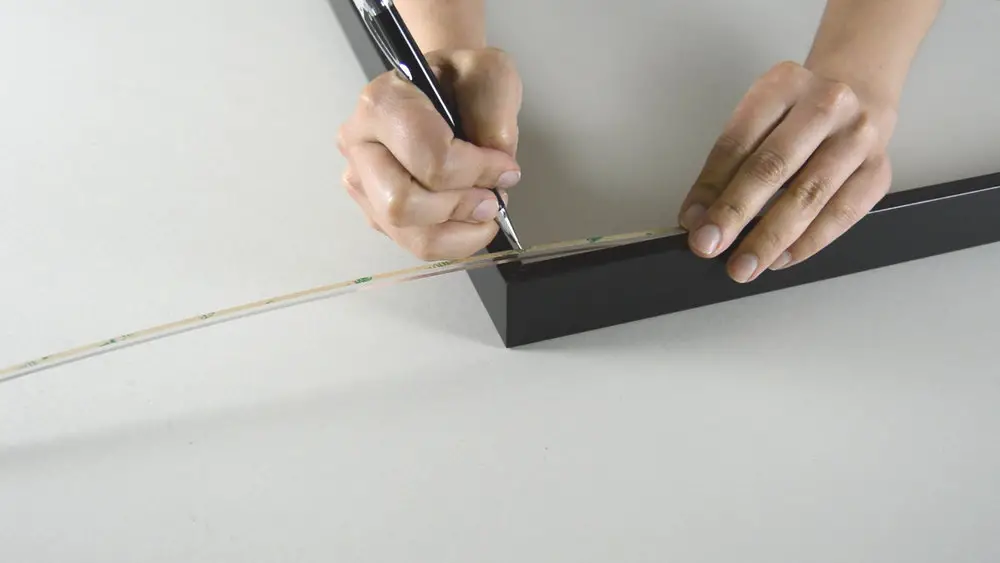
Put the piece of glass in the frame and measure the acrylic spacers to fit around the perimeter of the frame. Then, cut the spacers with wire cutters and make sure they fit correctly in the frame. Next, peel off the backing and adhere the spacers directly to the glass. These aren’t permanent, so if you mess up or decided against it, you can easily remove them.
You can find these acrylic spacers at any framing supply or at a local craft store and typically come in 5-6′ lengths. They also come in a couple different sizes (1/8″ or 1/4″) depending on how far you want your art to stand away from the glass.
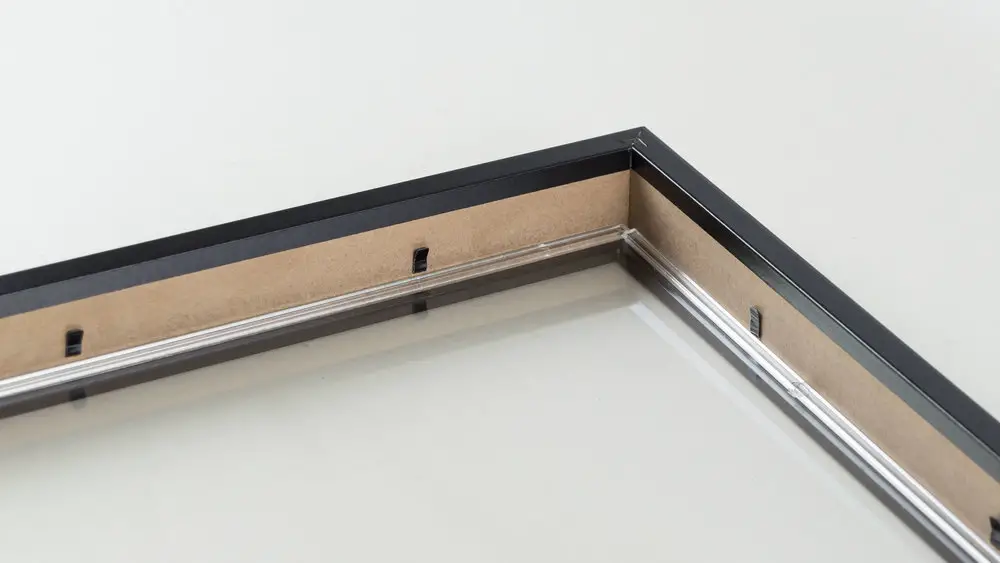
It’s important to look at your picture frame before deciding the size of the spacer to get. In the frame that I am using for this project, notice the black tabs that keep the picture in place once it’s framed. If you choose a large spacer, the tabs might not fold over the backboard once the art is in the frame. If this happens, you can pull out the black tabs and reinstall them at a different point with a tool called a dual point driver, which looks like a staple gun.
Step 6. Assemble your frame together
Next, place your artwork in the frame, then stick the backboard in and fold over the black tabs to secure it.
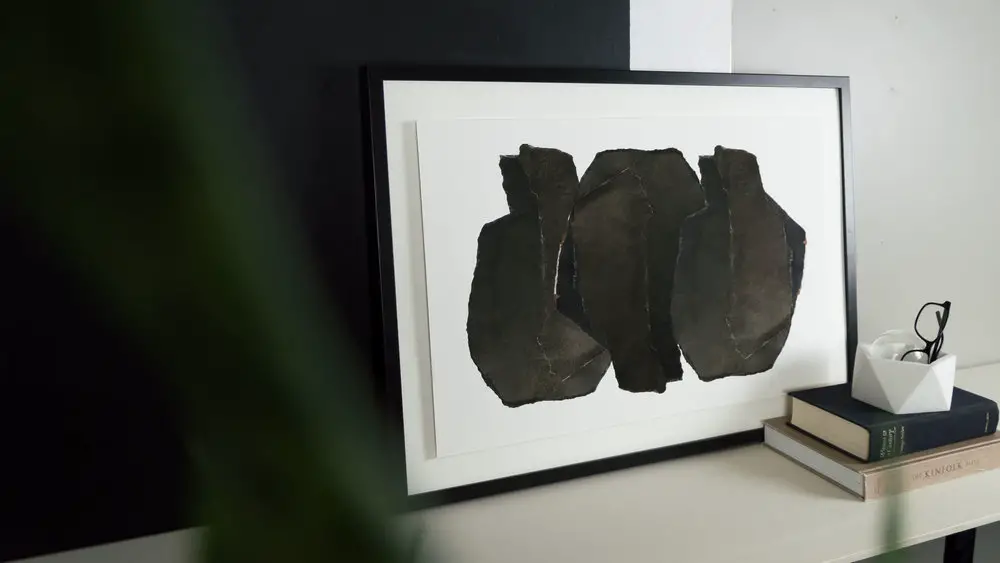
With all the different types of framing, matting, and mounting artwork, I have to say that this one is my favorite. I love, love, love the way this type of framing looks! It gives the art a bit more of a modern feel and in my opinion, gives a lot more visual interest than a standard mat.
So what do you think? Would you want to try this method the next time you have some pictures to frame? Let me know what you think in the comments section below! I hope you guys enjoyed this project about how to float mount art.
Hello!
I don’t understand the next to last step where you put the spacers against the frame under the black tabs. How is placing them there creating the distance we see from the art to the backboard? My impression was that you placed the spacer behind the art itself to create a space between the art and the mat. By placing the spacer where it shows in the photo, under the black tab, it’s only creating space between the frame and the background mat, not affecting the art in any way which would then stay flush against the mat since there is nothing separating it from the background mat.
Thanks!
Hi Lundiga, you’re completely right! The spacers help keep everything in place. Depending on the size of spacers and thickness of the mat under the art, it can create a separation between the art and glass. A thick spacer would be best for this. I hope this helps!
This worked well for me. Thank you for the well written instructions. Choose a deep frame to accommodate the many layers. Frame choice is a game buster.
Glad to hear it worked for you! And yes, the frame you pick is definitely important. Another option is skipping the acrylic spacers and using any ol’ frame. It looks great, but you get way more visual interest with a deeper frame.
What about heavier art? Will the linen tape hold? Is there a different method?
Great question! There is gummed linen tape, which is a bit stronger than regular linen tape. And depending on what you’re hanging, there is also archival glue. I hope that helps!
Hi Terra,
Thanks so much for this post! I had a rough idea on how to do a float mount, but this has helped.
Do you find that the matboard is sufficient as a backing board in supporting the weight of the foam core and print over time? I’d be a bit worried about it buckling.
Cheerio,
Andy S.
Hi Andy, Glad this was helpful!
So far everything is holding up really well and I haven’t had any issues with it buckling, but it could be an issue with a larger piece of art.
I suppose you could attach the matboard to the backing board just to be safe.
I hope that helps! Cheers!
Excellent. Finally a clear straight-forward tutorial.
I use Japanese Gampi hinges with cooked-up arrowroot flour paste, but that makes centring the print a bit tricky. What’s the tape you use?
Happy you found it helpful! 🙂 I found linen tape works best- It should be linked under the materials section of this post. Cheers!
Great explanation!
What if you want to wrap the back board with fabric, so that the art is floating in front of the fabric background? Any ideas on how to not make that look janky?
Thanks, Andra
Hi Andra! I’d probably use a spray adhesive and a credit card to smooth out the bubbles. It should hold fabric pretty well…as long as it isn’t too thick. Hope that helps!
thank you so much for this amazing internet site me and my kin best-loved this message and insight
Great demo and explanation on deep float mounting. However, I have used the pre-glued acryllic spacers but have found after time, they have a tendency to creep and will show along the edges of the frame – especially in warmer climates. I am now resorting to spacers cut from acid-free foam core, but have had a hard time finding a tutorial as to how to attach within the frame? I’ve been winging it with acid free adhesives and adhering the foam core strips to the frame itself after the glass (or acryllic) is put in place and then placing the art, mat board and backing material. Any suggestions or tutorials you can direct me to? Thank you