How to Make a Display Pedestal For Sculptures & Art
Ever wish you could put one piece of furniture in your space and instantly make it look more high-end? Look no further than a modern pedestal or plinth! These pedestals will give your space a museum-quality look, and anything you put on it seriously looks like it’s worth $500 more!
Ever wish you could put one piece of furniture in your space and instantly make it look more high-end? Look no further than a modern pedestal or plinth!
These pedestals will give your space a museum-quality look, and anything you put on it seriously looks like it’s worth $500 more!
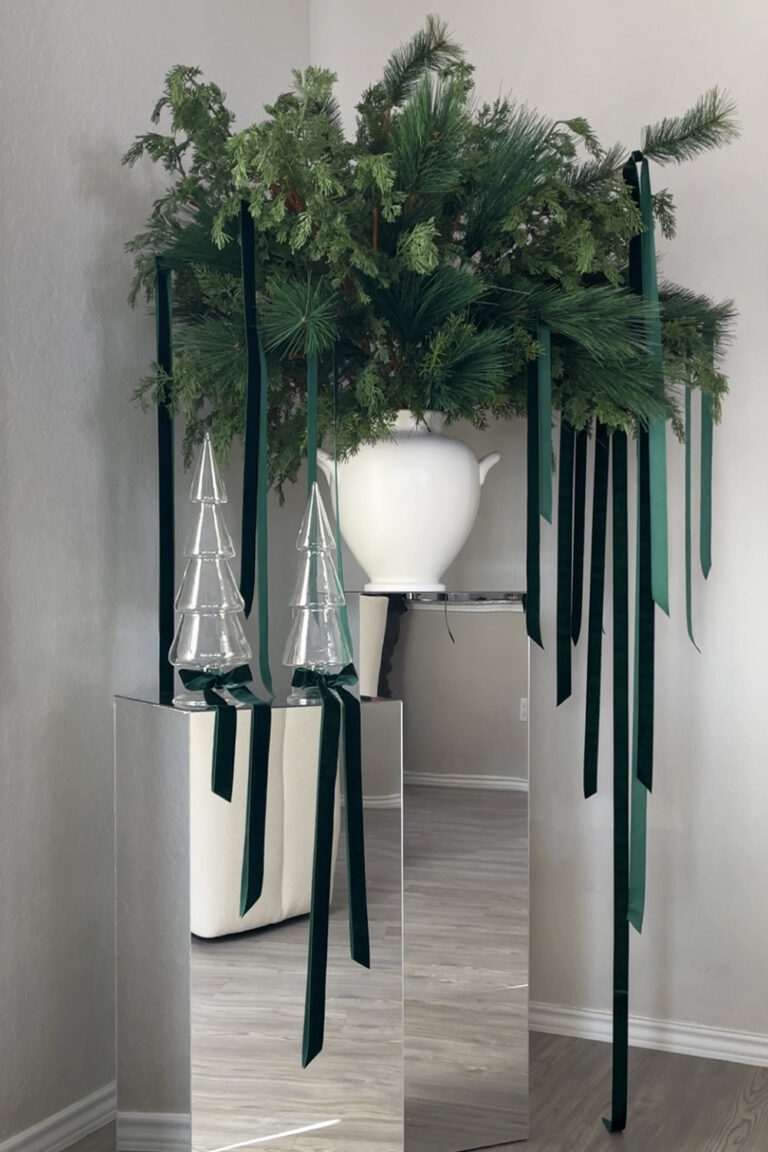
I rounded up a few of my favorite pedestals in another blog post, but if you’re looking to make your own for a fraction of the cost, you’re in the right spot! I’m breaking down all the details on how I made these two modern pedestals with minimal tools!
Ready to dive into how to make a chic pedestal?
Here’s what you’ll need:
Materials & Tools:
Plywood
Carpenter’s Square
Circular Saw
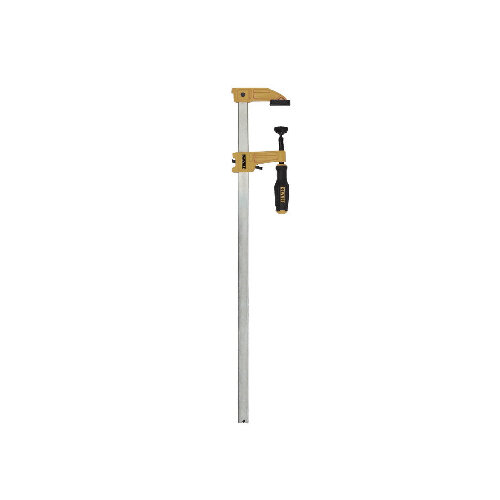
Bar Clamps
Wood Glue
Roller Brush
Primer Paint
120 Grit Sand Paper
Drywall Compound
Putty Knife
STEP 1
Measure all the pieces
Figure out what size pedestal you want to make and measure it out on a piece of wood. I ended up making two pedestals, a tall one and a short one.
For the taller pedestal, I measured out four pieces of wood that were 12”x12” x32”. For the shorter one, my pieces were 16”x16”x20”.
For the top pieces, I ended up tracing the final size after I glued the sides together it (step 4).
STEP 2
Cut the pieces of wood
If you don’t have any power tools at home, don’t fret! Buy a piece of sanded plywood at Lowes or Home Depot and have them cut the pieces to size right in the store!
If you have the tools and feel like doing the cutting yourself, do so using a circular saw.
STEP 3
Glue the Pedestal Together
Start gluing the pieces of wood together with some wood glue and then clamp it with a bar clamp to secure it tight. I used my finger to spread more glue into all the voids and gaps.
To make sure the two pieces of wood stayed at a perfect 90-degree angle, I used a big wood block I had lying around. You could also use a speed square, T-Square, so something else along those lines.
When it was time to glue the top, I just used that big wood block again since I didn’t have clamps that long.
STEP 4
Sand the Glue
Sand down any high spots and extra glue with some 120 grit sandpaper, if needed.
STEP 5
Patch the seams
Use a putty knife and drywall compound to hide where the two pieces of wood meet. For a seamless look, try to feather it out onto the wood as much as possible.
You’ll most likely need to repeat this step a couple of times like I did, so don’t apply the drywall compound too thick. Thinner layers are better.
STEP 6
Sand the drywall compound
After the drywall compound is dry, sand it smooth with some fine grit sandpaper. I started with some 120 grit, and then used 220 to really smooth it out, feathering it onto the wood as I went.
Repeat steps 5 & 6 until all the voids are filled and you have a smooth corner
STEP 7
Clean it up & Paint it
Get rid of the extra dust with some tact cloth and paint it! I used some white primer paint because I was going for that museum look, but you could paint this any color imaginable!
You could also get creative and add some wood slats! The possibilities are endless!
There you have it- how to make a chic pedestal to display sculptures and art!
I hope you enjoyed this DIY project as much as I did!
It’s one of my favorite pieces in my home at the moment, and literally EVERYTHING looks amazing on it! What do you think? Will you be DIY’ing a pedestal anytime soon?? If you do, be sure to tag me on instagram and share it with me! I love seeing you guys recreate these projects!
Until next time,
Cheers!


